
Creating hand-knotted rugs is a meticulous and time-intensive process that requires skill, patience, and attention to detail. Here’s a step-by-step guide on how to make hand-knotted rugs:
Materials You’ll Need:
- Wool, silk, or other suitable yarns for the pile
- Cotton or other sturdy threads for the warp and weft
- Loom
- Scissors
- Comb or beater
- Needle
- Design pattern
Step-by-Step Process:
- Design and Pattern:
- Start with a design pattern that you want to replicate on the rug. This can be a traditional motif, a contemporary design, or something entirely original.
- Preparing the Loom:
- Set up the loom by attaching the warp threads to the top and bottom beams. These warp threads will form the foundation of the rug.
- Stretch the warp threads tightly and evenly, ensuring they are parallel to each other.
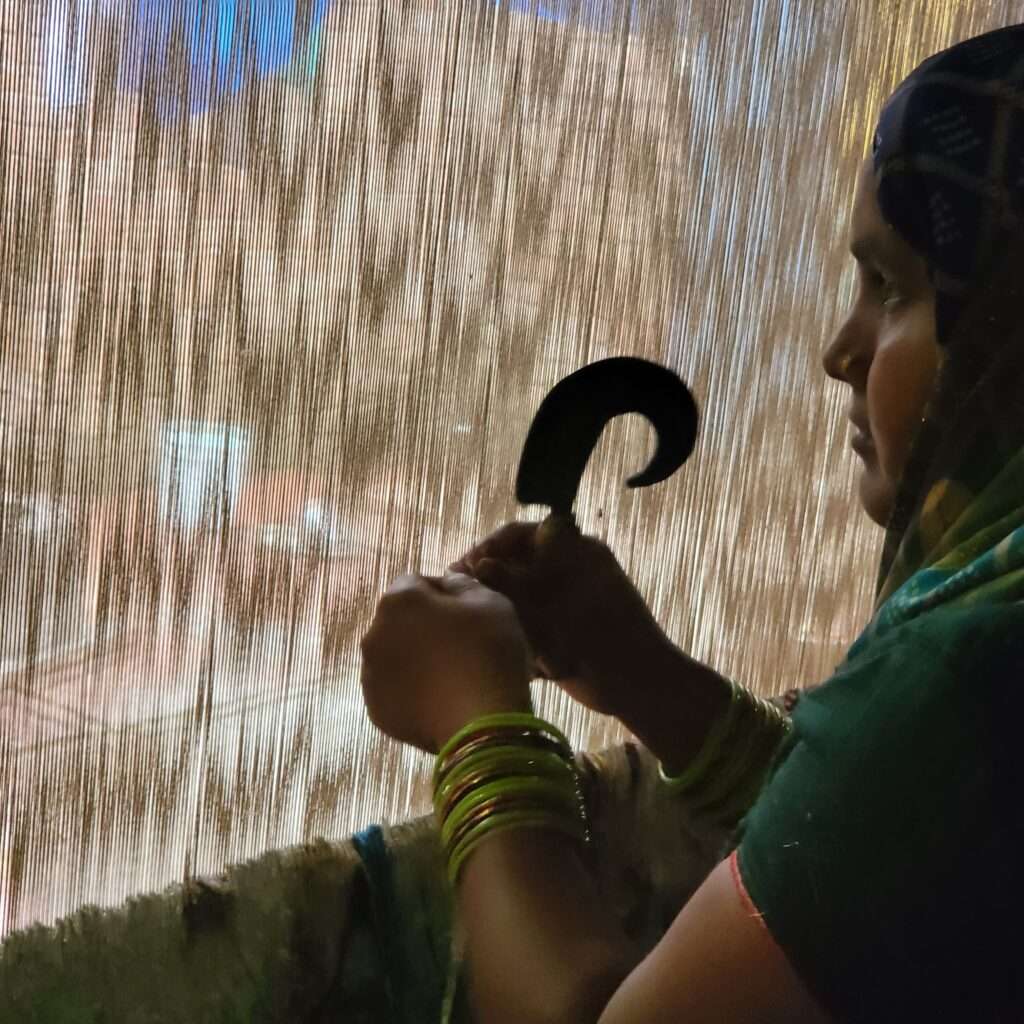
- Creating the Knots:
- Use the design pattern as a guide and begin tying knots onto the warp threads. The two main types of knots used are the Persian knot (Senneh) and the Turkish knot (Ghiordes).
- To tie a knot, loop the yarn around two adjacent warp threads, then pass the ends of the yarn through the loop and pull them tightly.
- Pile Formation:
- As you tie knots, they create the pile or raised surface of the rug. The density of knots and the height of the pile contribute to the rug’s texture and appearance.
- Weaving Rows:
- Work row by row, following the design pattern closely. Each row of knots is tightly packed against the previous row using a comb or beater to ensure an even surface.
- Color Changes:
- If your design involves multiple colors, you’ll need to carefully manage the transitions between colors, ensuring a seamless appearance. Knots can be individually tied in the desired color.
- Weft Insertion:
- As you complete a row of knots, insert the weft threads (horizontal threads) to secure the knots and create a foundation for the next row of knots.
- Pass the weft threads through the warp threads, alternating over and under to create a secure structure.
- Trimming and Shearing:
- Once the rug is complete, trim any excess yarn and threads.
- Shear the rug to achieve a uniform pile height. This step enhances the rug’s texture and appearance.
- Finishing Touches:
- Secure the edges of the rug by folding over the warp threads and binding them with weft threads.
- Trim any excess warp and weft threads.
- Cleaning and Quality Check:
- Clean the rug to remove any dirt or debris that accumulated during the weaving process.
- Inspect the rug carefully to ensure that all knots are secure, the design is accurate, and there are no loose threads.
- Final Steps:
- Once the rug passes the quality check, it is ready for display or sale.
- Consider adding any additional embellishments, such as fringes, if desired.
Creating hand-knotted rugs is a traditional craft that requires practice to master. The level of detail and precision involved in each knot results in a unique and valuable piece of art that reflects the craftsmanship and creativity of the weaver.